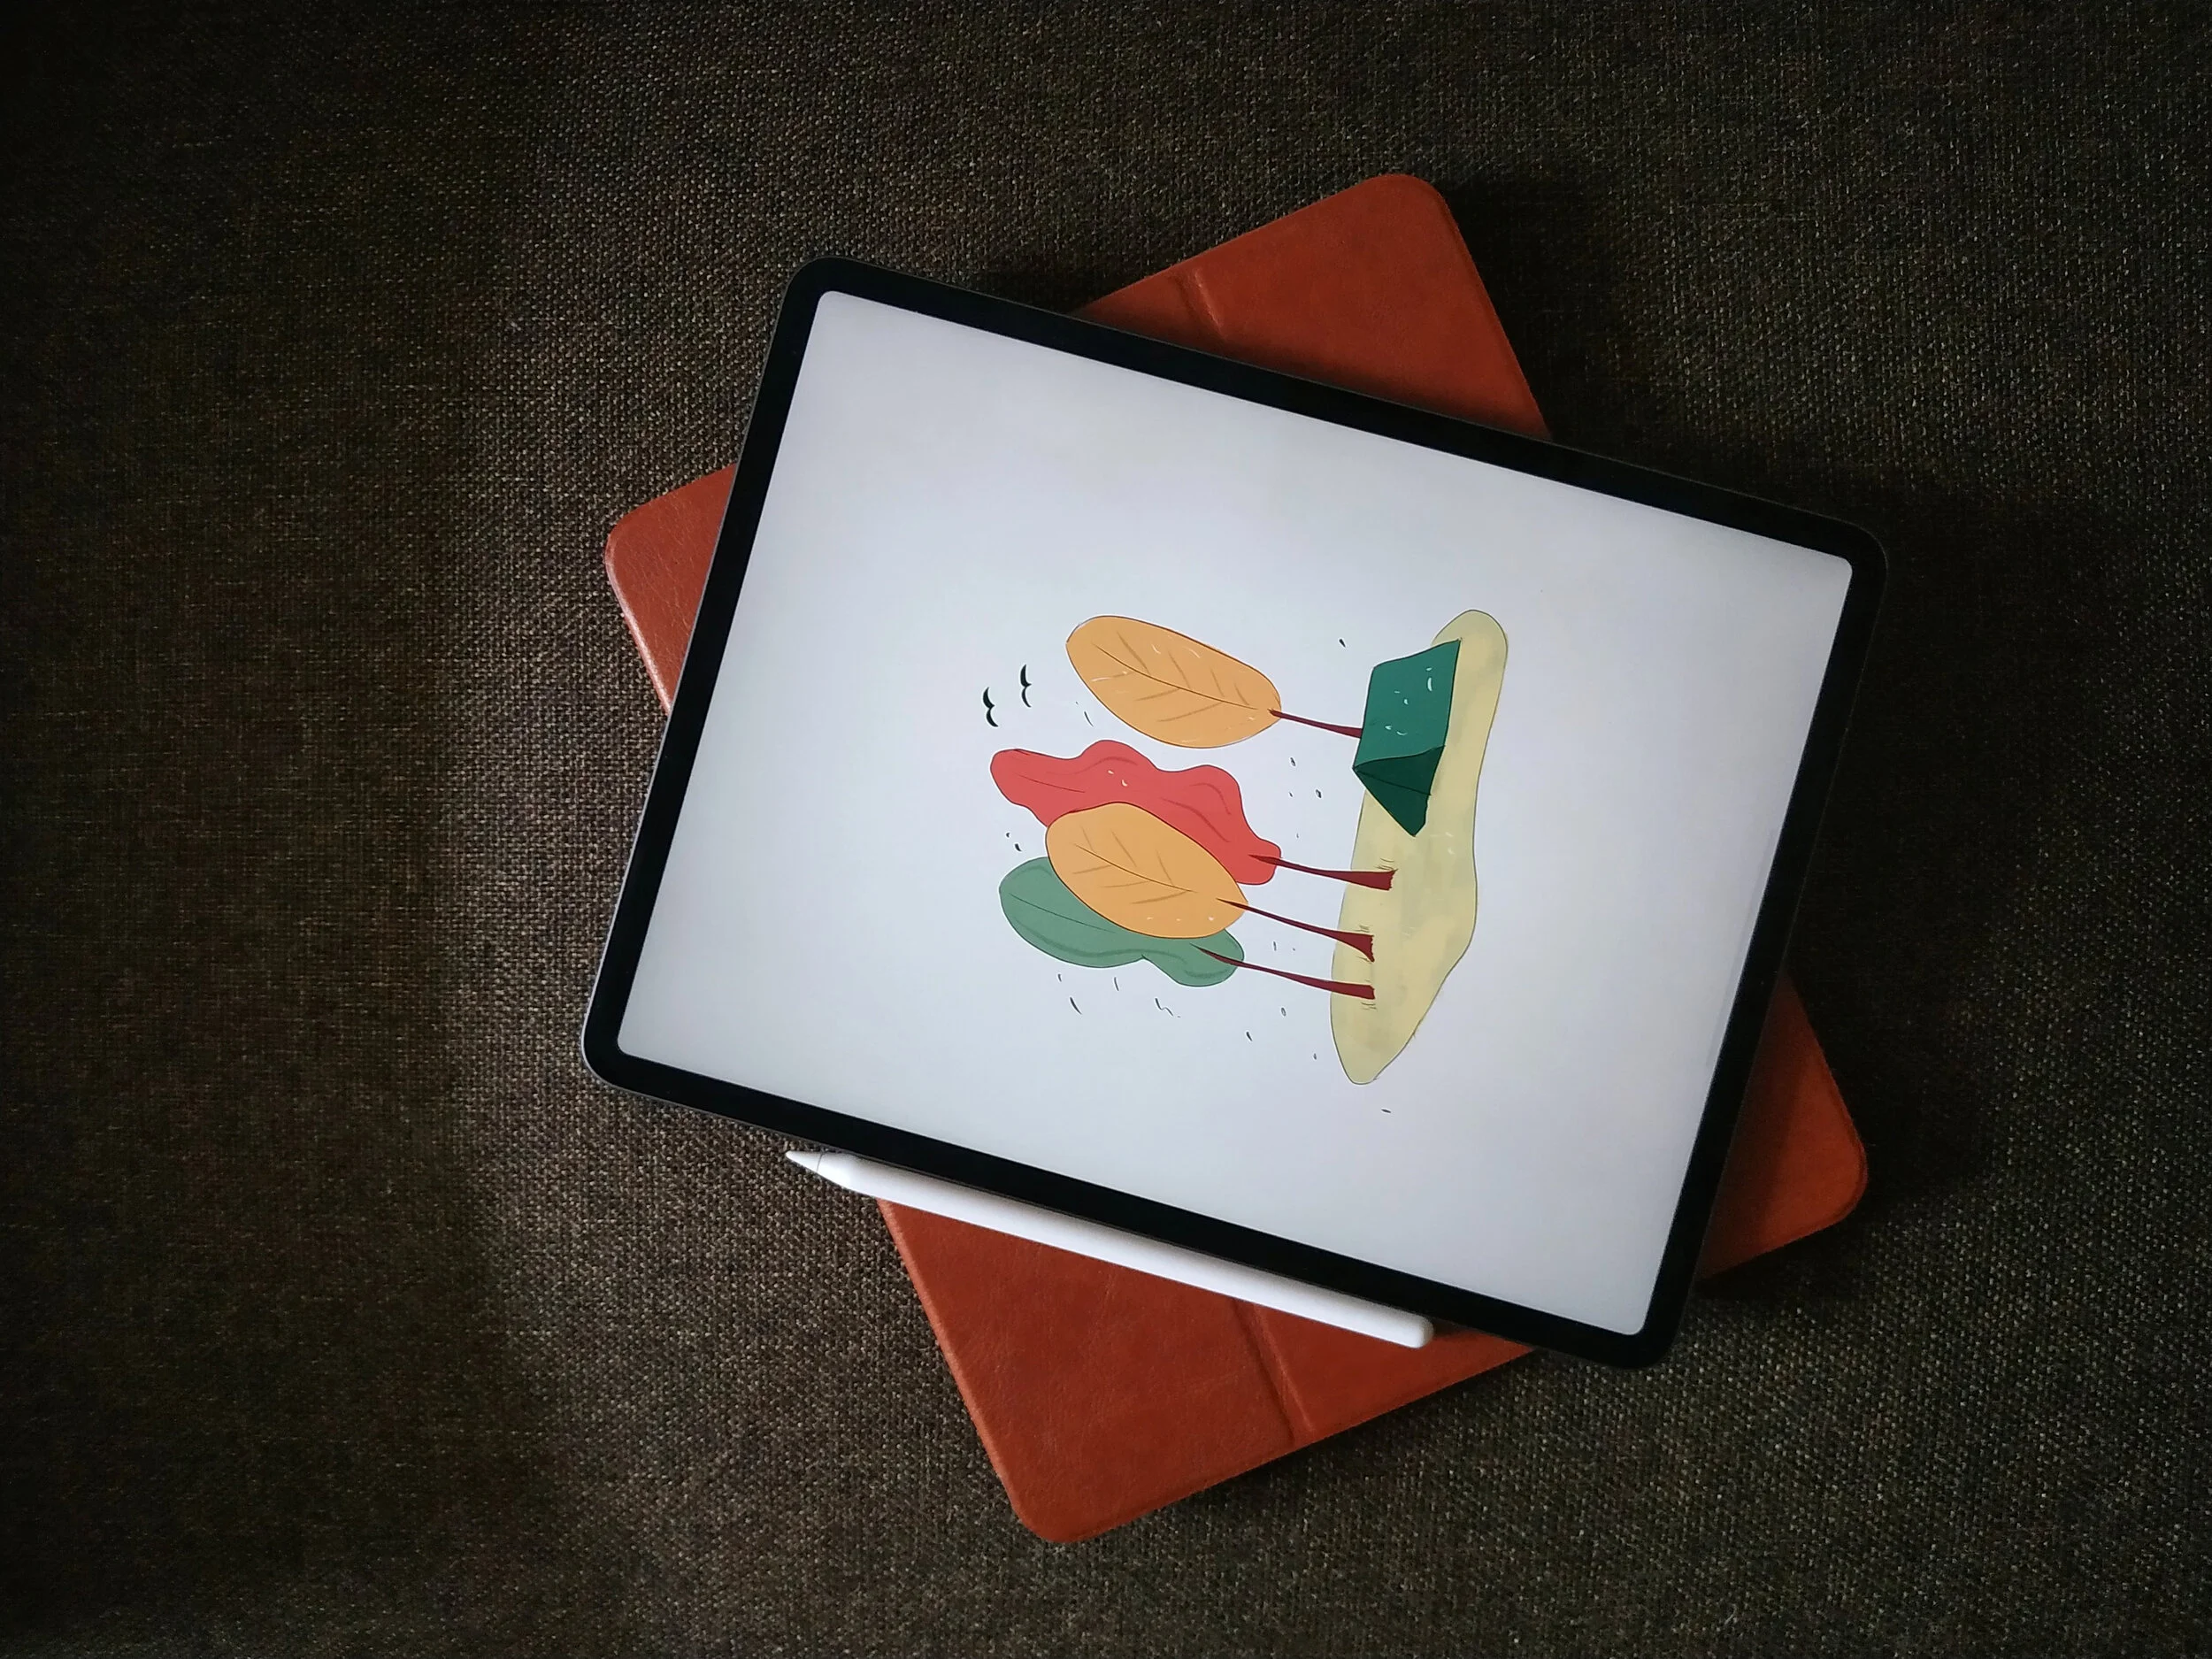
5 need to know Procreate tips and tricks: Part Two
Last week I shared five tips for getting started with Procreate, and this week I’m back with five more! Procreate seems simple enough but some of the really handy tricks aren’t as obvious as you’d think.
I actually only discovered one of the five below a few months ago and I’ve been using it heaps since. Again this is aimed at beginners but definitely have a quick read if you’re a seasoned Procreate user just in case, like me, you’ve missed one or two handy things!
1. Stack artwork
Losing track of the amount of art boards on your home page? You can stack them into groups, handy if you’re working on a set of pieces for one job you can stack them together. Tap Select on the home page, select the pieces you want grouped together, and click Stack.
Tip: If you accidentally stack a piece you didn’t want in that group, go into the group and hold down on the piece with your finger and then drag it to the top left corner where the stack name is and hold it there until Procreate takes you back to your home page.
2. Grouping layers
Remember how to multi-select layers from the last tip post? Well do that to the layers you want to group and then the group button magically appears at the top of the layers panel. Super handy if your file is getting messy with lots of layers.
3. Quick merge
This is one I only learnt about a few months ago, and I can’t stop using it. Simply go to the layers panel, and with two fingers squish and drag the layers you want together. It takes a little getting used to the movement and to get the right layers involved but it’s super useful if you’re doing lots of sketch layers and want to flatten them to one layer without adding them to a group to flatten.
4. Gaussian blur for shadows
Want a snazzy drop shadow but don’t want it crisp and defined? Use Gaussian blur in the Adjustments drop down. Make sure your layer isn’t Alpha Locked and drag your pencil across the screen to your desired blur, I usually go for around 10% for shadows. Play with this and the layer opacity for some great slightly blurred shadows.
Left: Gaussian blur 10%, 25% opacity // Right: 25% opacity
5. Copy and paste
Yes of course there’s shortcuts for copy and paste, please tell me you’ve found them already? If not they’re super handy and all you need is three fingers. Select what you want to copy, swipe down with three fingers and you get the array of options below. If you’ve accidentally drawn on a layer you can just cut and paste the section onto a new layer. Or, you can copy and paste from a different file!
Some of the gestures take a while to get the hang of, sometimes I still can’t nail the three finger swipe down first time which you’d assume would be pretty easy to handle… If you have any other tips let me know! I definitely haven’t learnt all the tricks Procreate has to offer.
- Sophie
Free wallpapers and tips? Sign up to my newsletter.
Subscribe below and get a starter freebie pack with brush lettering tutorial page, colouring page, and wallpapers. Plus you’ll get freebies, recommendations and guides straight to your inbox on the first week of every month!
Pin for later!
If you found this useful be sure to share it to Pinterest to come back later, and so others can find it too! Use the Pinterest save button by hovering over the image below.


